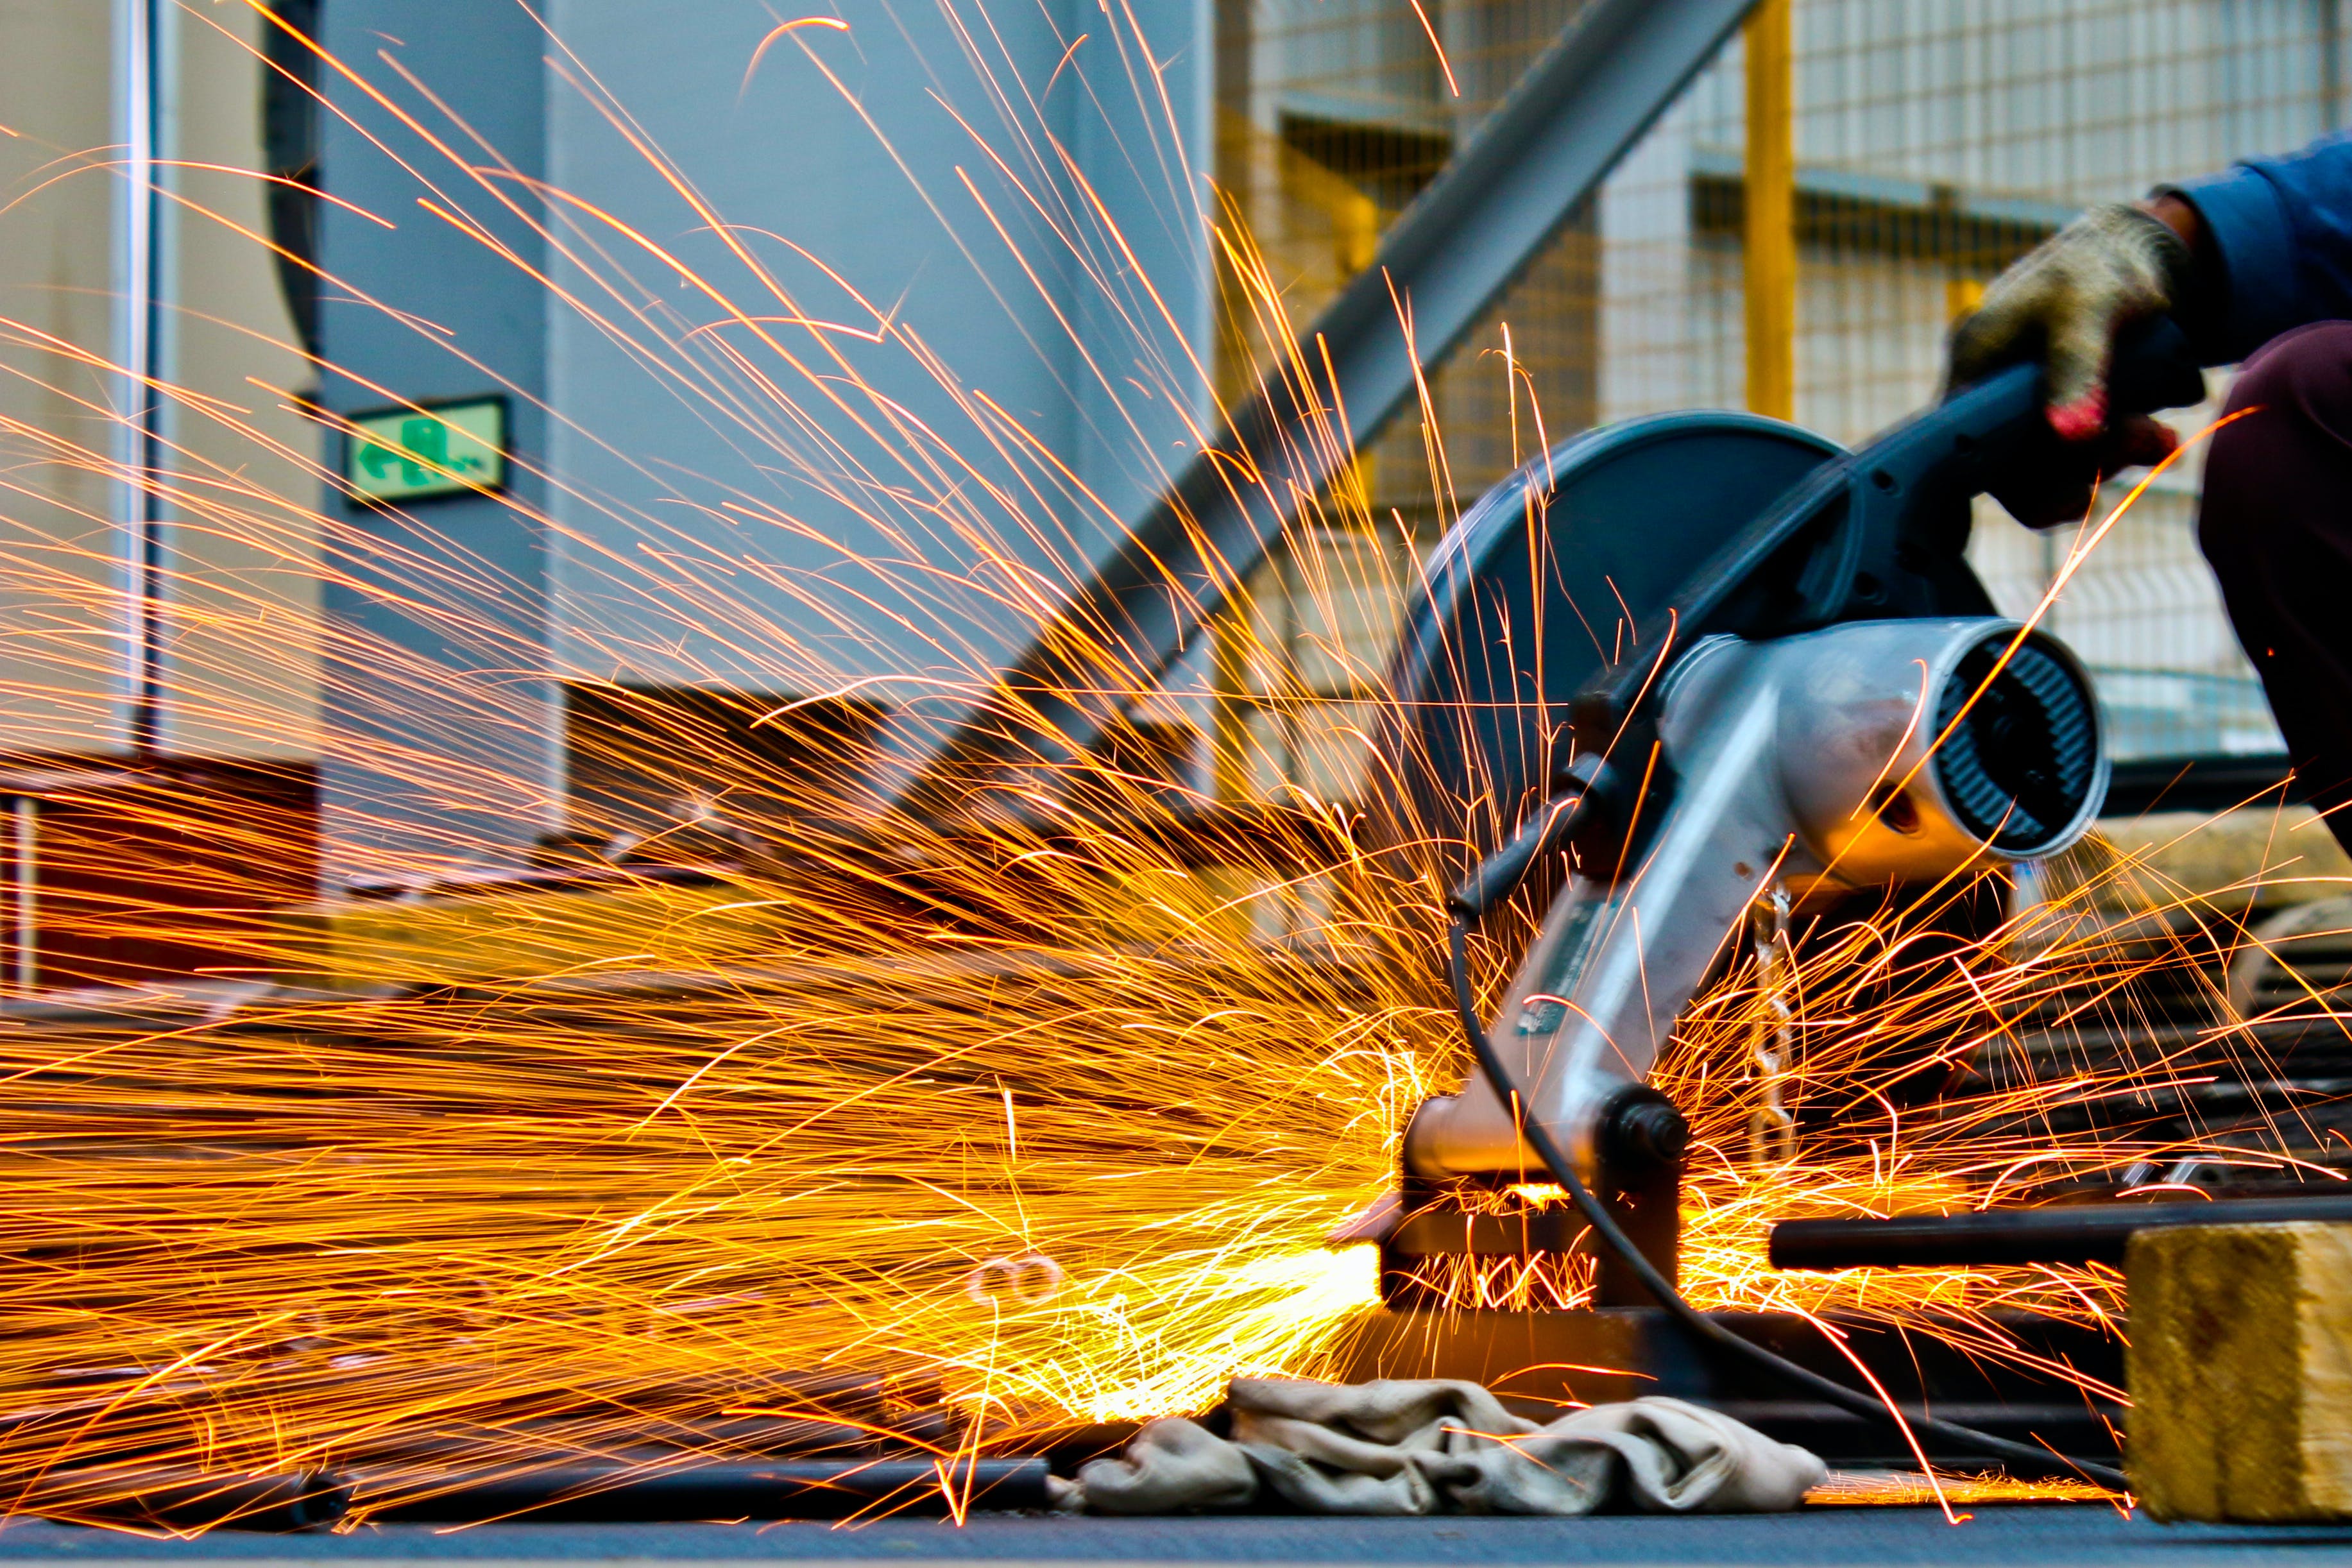
Marble cutting machine is a kind of mechanical equipment specially used for processing marble, and its practicality is of great significance to the stone processing industry. This report will evaluate the practicality of the marble cutting machine in detail, and analyze its performance in practical applications from multiple perspectives.
First, ease of operation
Marble cutting machine in the design of the user experience, the use of humanized operating interface and control system, making the operation more convenient. Whether it is manual, semi-automatic or fully automatic cutting machine, it can achieve fast and accurate cutting of marble through simple operation. In addition, some high-end marble cutting machines are also equipped with intelligent control systems, which can automatically adjust the cutting parameters, further simplifying the operation process.
Second, cutting accuracy and efficiency
The cutting accuracy and efficiency of marble cutting machine are important indicators to measure its practicability. Modern marble cutting machine adopts advanced cutting technology and high-precision transmission system, which can achieve millimeter-level cutting accuracy and meet various high-precision processing needs. At the same time, the cutting speed of the cutting machine is also very fast, which greatly improves the production efficiency.
3. Scope of application
Marble cutting machine is not only suitable for cutting marble, but also can cut other stone, tile, rock plate and other materials, with a wide range of applications. Whether it is home decoration, construction engineering or stone processing industry, you can find the right marble cutting machine.
Fourth, stability and durability
Marble cutting machine in the structural design of the full consideration of stability and durability. The use of high-quality materials and precision processing technology, so that the machine can maintain stability during the working process, reduce vibration and noise. At the same time, the durability of the cutting machine is also very good, which can run stably for a long time and reduce the failure rate.
Maintenance and maintenance
The maintenance and maintenance of the marble cutting machine is relatively simple, generally only need to clean the machine regularly and replace the wearing parts. Some high-end marble cutting machines are also equipped with an intelligent diagnostic system, which can monitor the operating status of the machine in real time, find potential faults in advance, and facilitate timely maintenance.
In summary, the marble cutting machine performs well in terms of practicality, with the advantages of convenient operation, high cutting precision, wide application range, stability and durability. In practical applications, it can greatly improve the efficiency and quality of stone processing, reduce production costs, and provide strong support for the development of stone processing industry. However, different brands and models of marble cutting machines may have differences in performance, and users need to choose according to their actual needs and budgets when purchasing.